Boost C++ Libraries学习 - Boost.Polygon (GTL)
系列文章
《计算几何——算法与应用(第三版)》学习笔记1 - 扫描线(第1-4章)
《计算几何——算法与应用(第三版)》学习笔记2 - 空间索引(第5-7章)
番外篇
计算几何 - C++ 库的调研
Boost C++ Libraries学习 - Geometry
-> Boost C++ Libraries学习 - Boost.Polygon (GTL)
参考 Boost 官方手册
The Boost.Polygon library provides algorithms focused on manipulating planar polygon geometry data. Specific algorithms provided are the polygon set operations (intersection, union, difference, disjoint-union) and related algorithms such as polygon connectivity graph extraction, offsetting and map-overlay. An example of the disjoint-union (XOR) of figure a and figure b is shown below in figure c. These so-called Boolean algorithms are of significant interest in GIS (Geospatial Information Systems), VLSI CAD as well all other fields of CAD, and many more application areas, and providing them is the primary focus of this library.
使用 vscode 插件 Graphical Debugging 来可视化调试。具体见计算几何 - C++ 库的调研。
布尔运算
使用教程中的例子:Boost 官方教程
nand.layout对应的几何图形如图:
查看读入的layout_database,是一个从std::string类型到gtl::polygon_90_set_data<int>类型的std::map,有这些成员:
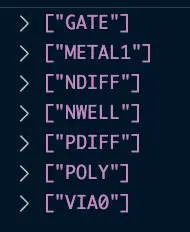
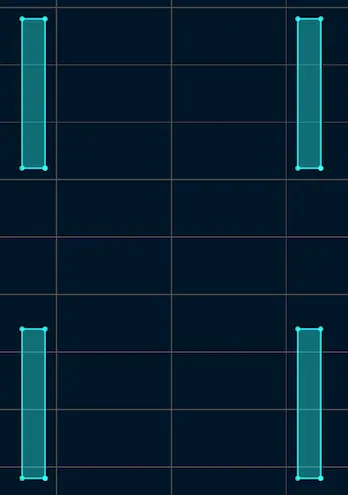
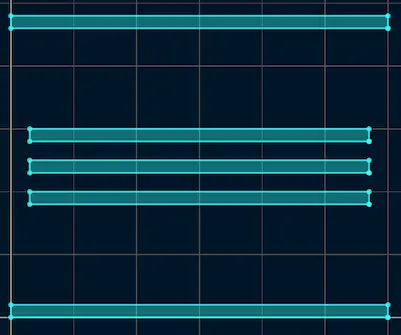
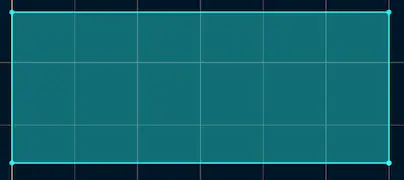
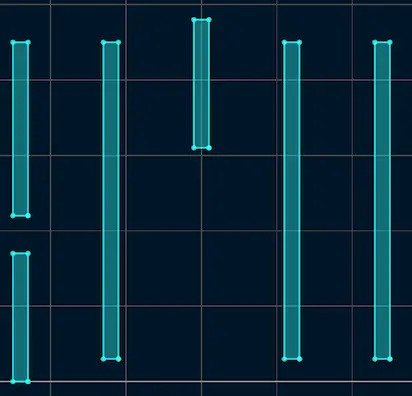
分别是如下形状:
- GATE:
- METAL1:
- NDIFF:

- NWELL:
- PDIFF

- POLY:
- VIA0:
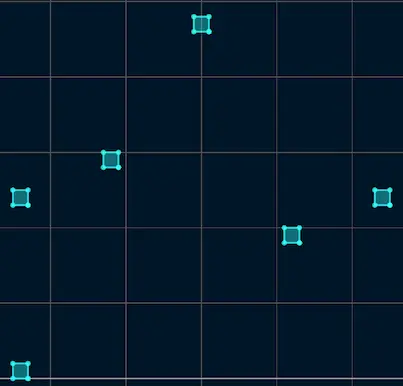
我们把 POLY 和 METAL1 层拿出来做研究,忽略它们的层次信息,单纯为了实验两组多边形的布尔运算。考虑如下代码:
1 | auto bloat_metal1 = layout["METAL1"] + 1; |
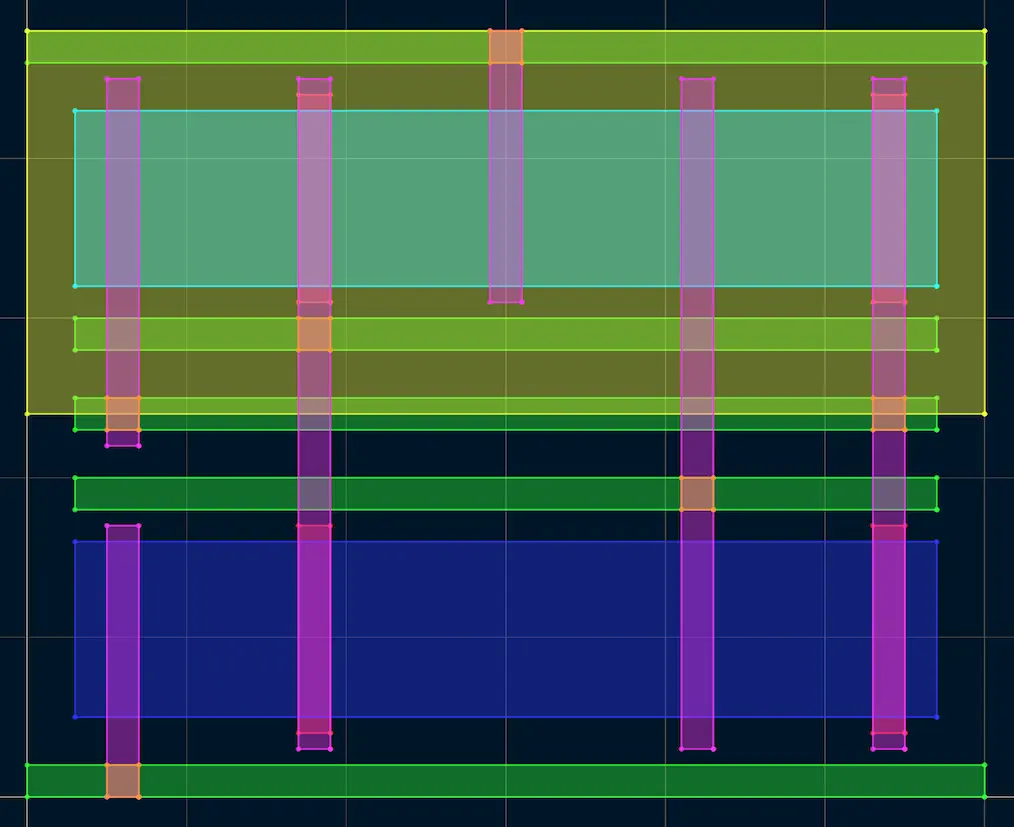
首先,如下图中,POLY 层用红色表示,METAL1 层用绿色表示。
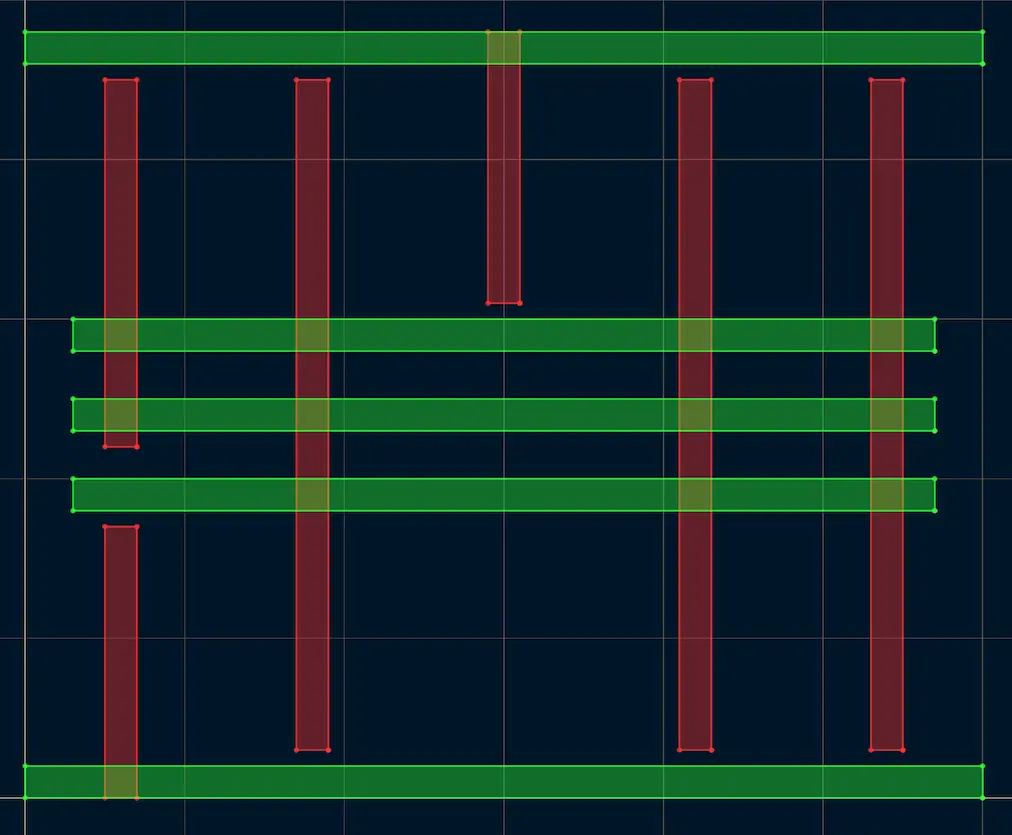
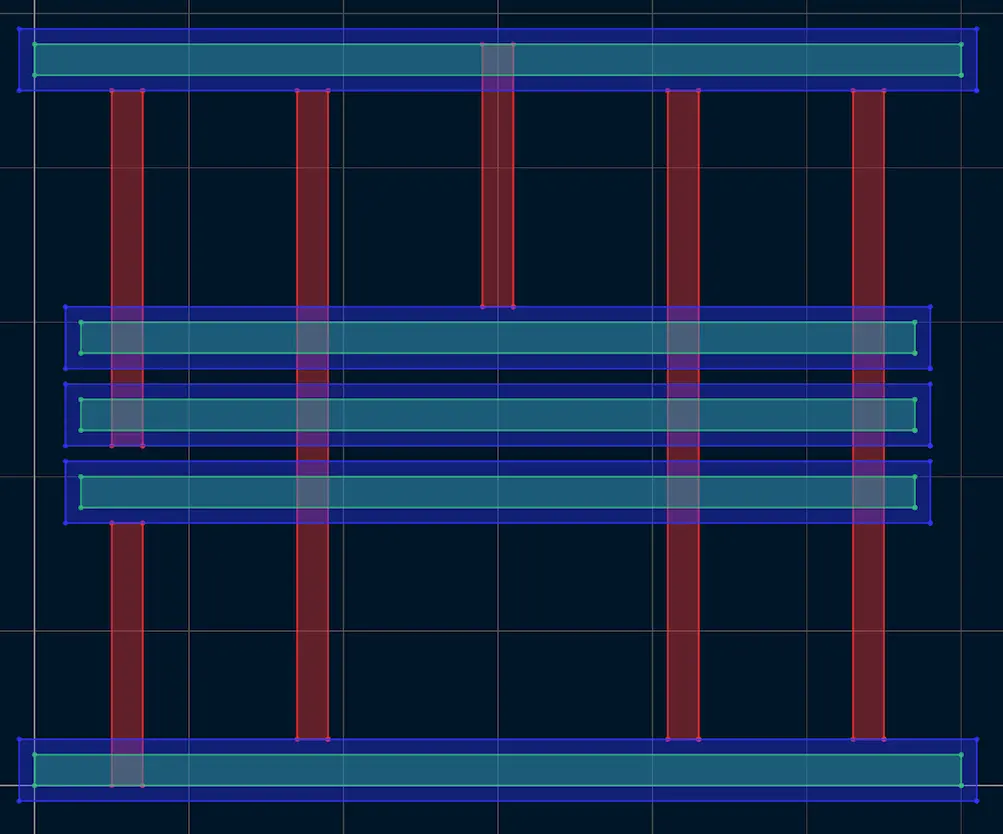
执行auto bloat_metal1 = layout["METAL1"] + 1;,该语句的作用是将 METAL1 层对应的 polygon set 膨胀一个单位(如果+作用的对象不是整数,而是几何性质的对象,则为布尔运算or),效果如下图蓝色区域:
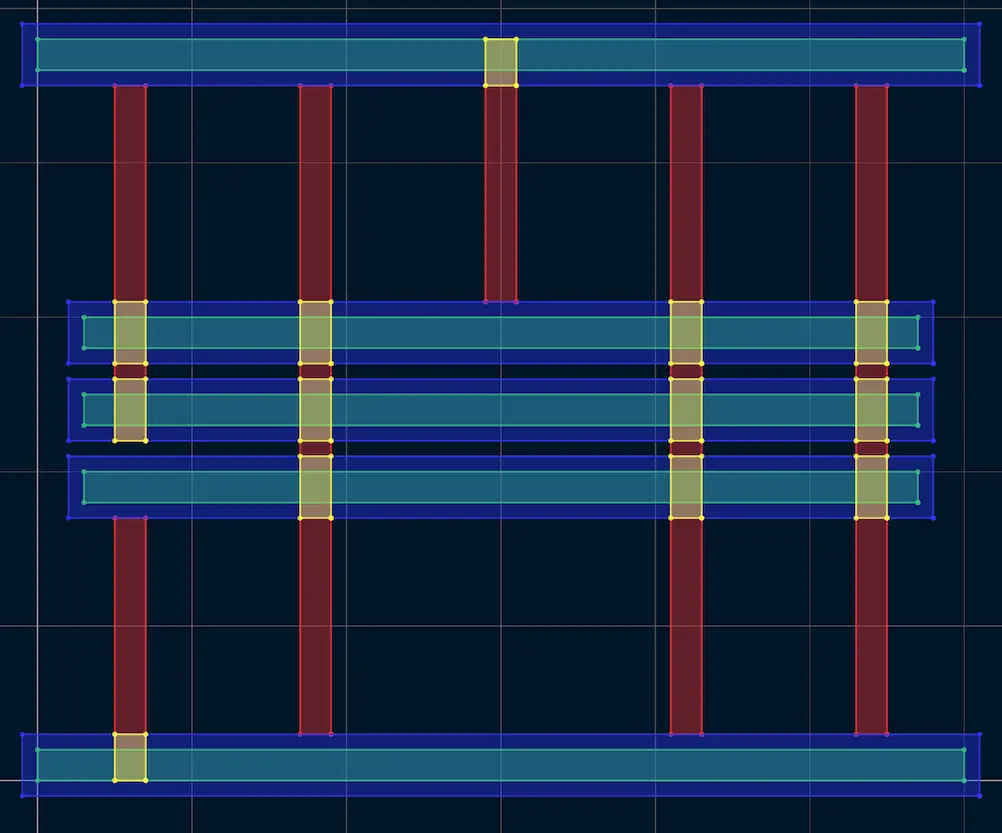
执行auto and_result = bloat_metal1 & layout["POLY"];,该语句的作用是用膨胀后的 polygon set 跟 POLY 层做布尔and运算,得到它们的公共区域,效果如下图黄色区域:
执行auto xor_result = and_result ^ layout["METAL1"];,该语句的作用是把刚才求得的公共区域跟 METAL1 层做布尔xor运算,得到它们互异的区域,效果如下图青色区域:
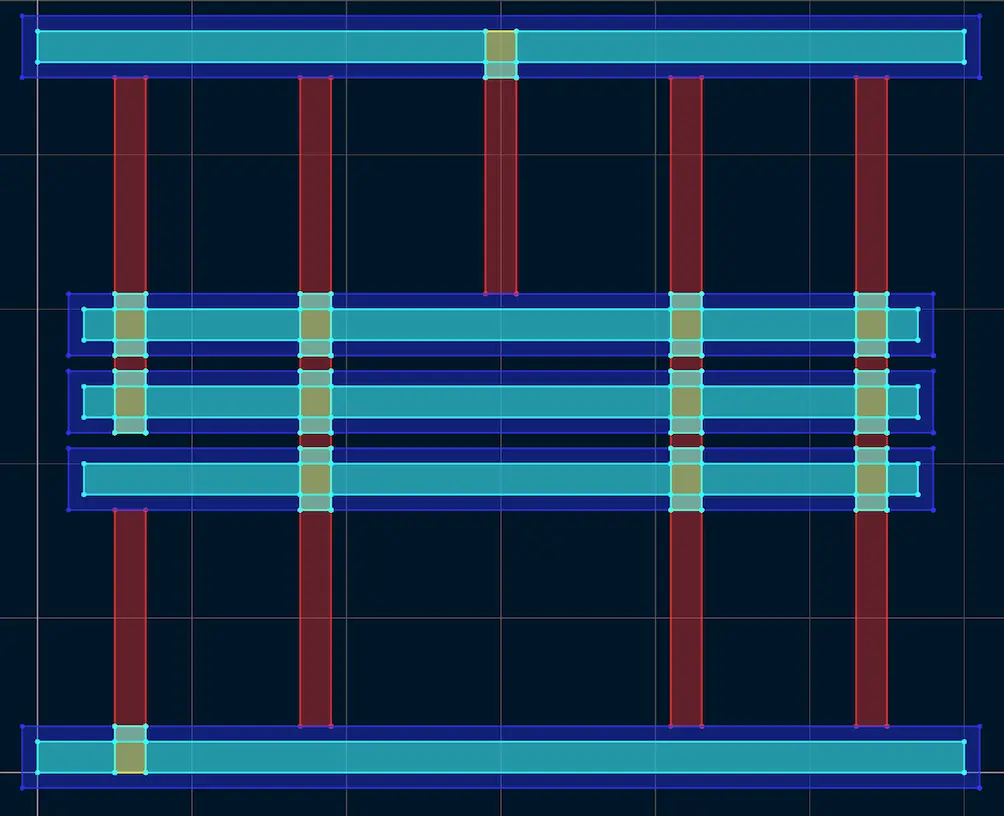
执行auto not_result = bloat_metal1 - xor_result;,该语句的作用是以 METAL1 膨胀后的多边形为基准,去掉 xor_result 与之重叠的部分,效果如下图紫色区域:
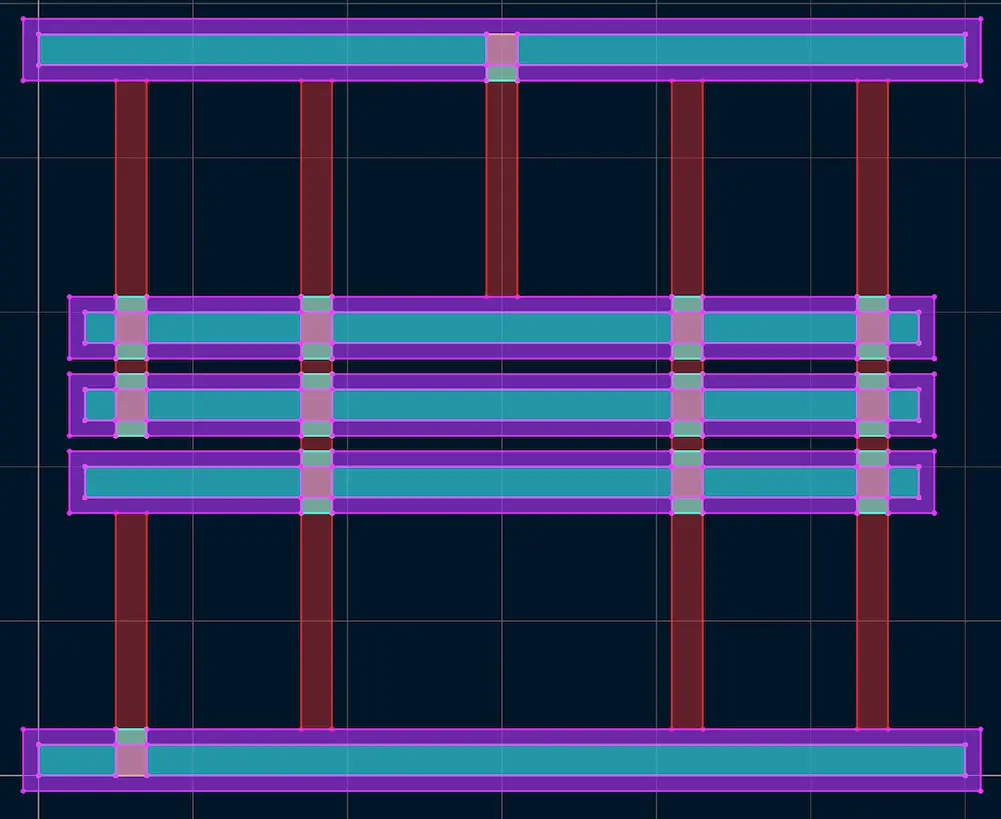
执行auto or_result = not_result | layout["POLY"];,该语句的作用是将刚才剪出来的结果根 POLY 层做布尔or运算,得到它们的并集,效果如下图橙色区域:
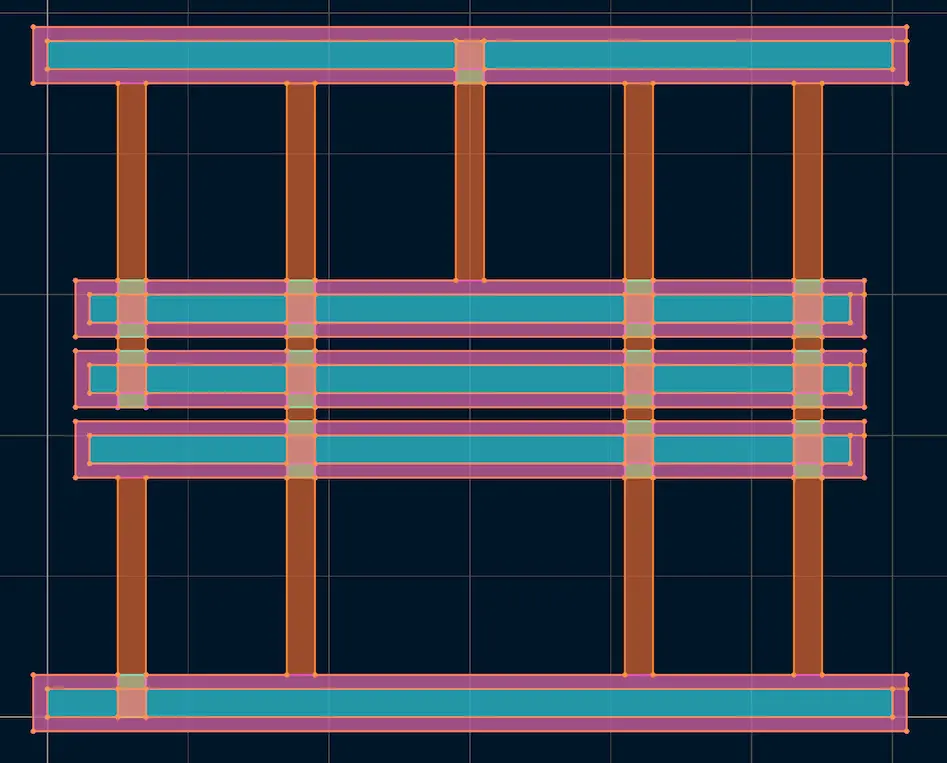
将最终结果单独拿出来观察:
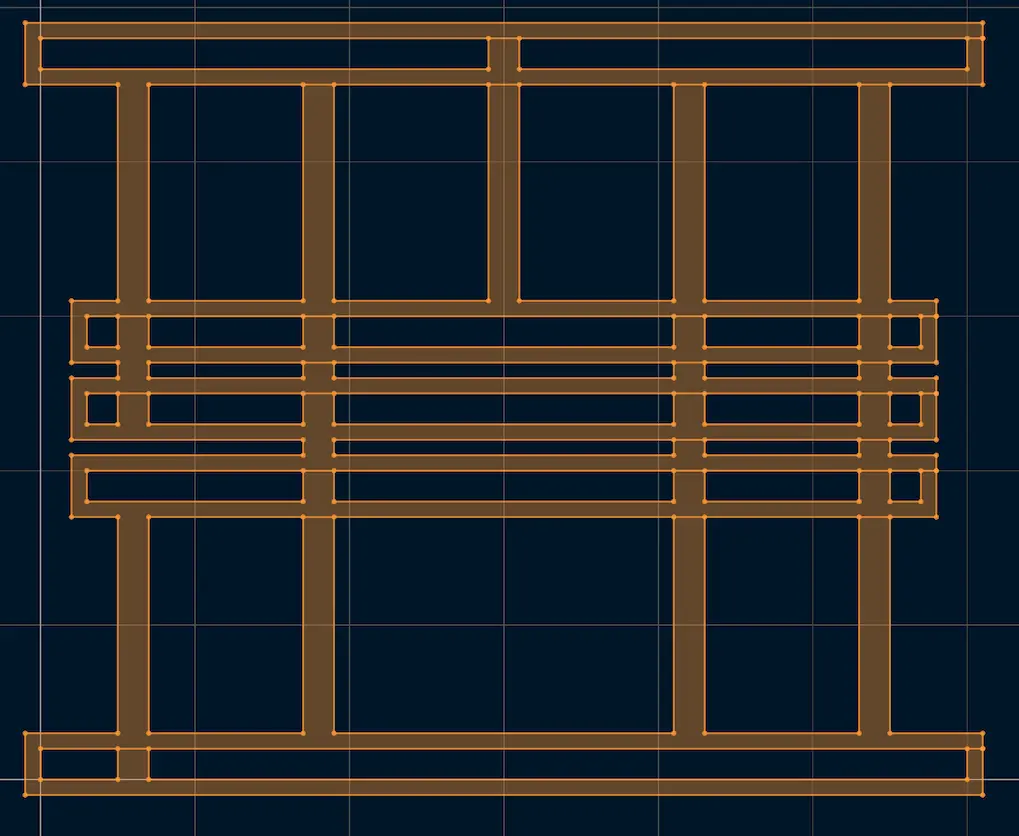
引用官方例子 Property Merge Usage 中的注释可以知道,我们这种布尔运算的组合其实到最后才会计算一次。
1 | //Notice that we have to do O(2^n) booleans to compose the same |
中间产生的运算结果不会直接成为 polygon set,而是 polygon set view。从下图可知,xor_result是由两个 polygon set 做BinaryAnd,再跟另一个 polygon set 做BinaryXor。

获得 set 中的几何图形
前面的实验中,我们可以看到在多边形的孔洞周围会有一些不自然的切割线条,再来看如下例子:
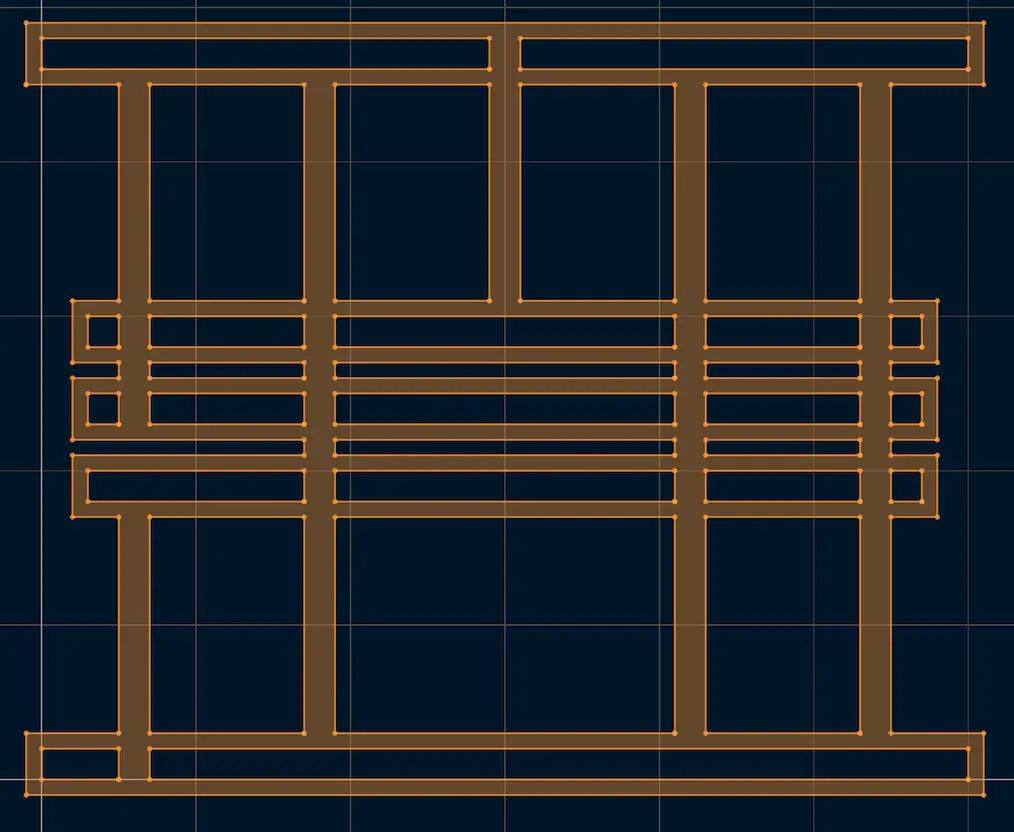
这是polygon_data和polygon_with_holes_data的区别。
使用如下代码来将 polygon set 中的数据变成不同的几何表示:
1 | gtl::polygon_90_set_data<int> or_polyset(or_result); // 将布尔运算的最终结果转换为 polygon set |

